

Grandkid Red White and Blue Popsicles!
Aren’t these red white and blue popsicles soooo cute? I made them yesterday and although they’re easy and fun to make, they take about 5 hours from start to finish due to the freezing time in between each color. I first saw this recipe last year on Food Network with Valerie Bertinelli and I filed it away for this post.

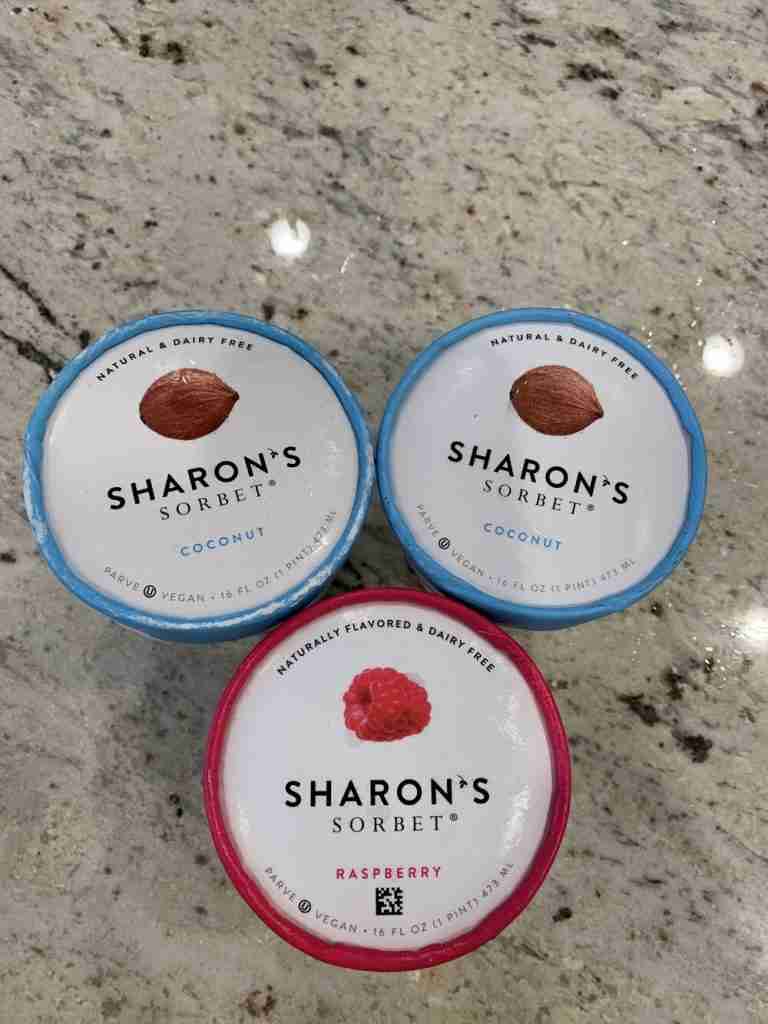
The recipe actually makes 12 popsicles and what’s delicious about this recipe, is the fact that they’re actually made from coconut and raspberry sorbets. Mr. G.Q. loves frozen treats such as sorbets and ice cream. Me, not so much. So I took his word on tastiness and searched several stores to find the Sharon brand, which he prefers.
Here’s the recipe:
Red White and Blue Popsicles
-2 pints coconut sorbet, softened
-1-pint raspberry sorbet, softened
-10 drops of blue gel food coloring
-12 reusable plastic popsicle molds (comes with a plastic funnel)
Steps:
- Put one pint of the softened coconut sorbet into a large measuring cup.

2. Add the blue food coloring to the softened sorbet and blend with a fork until it is smooth and pourable. (I use toothpicks to remove each drop of gel food coloring from the container. The gel food coloring is VERY concentrated, so the toothpicks gave me some control of this step.)

3. Here’s the blue sorbet ready for the molds.

4. Now I placed the plastic funnel inside the popsicle mold and poured in the blue layer into the bottom third of each mold. Then I froze these until set, about 2 hours.

5. Next, I stirred the remaining pint of softened (uncolored) coconut sorbet until it was a pourable consistency and I filled the molds another third of the way. I put them back in the freezer to firm up (1-2 hours).

6. Lastly, I spooned the raspberry sorbet to fill the top of the mold, smoothing the top. At this point, I needed to put the top on the molds (which have a “stick” attached to it). So in order to get the lid in place, I took a small steak knife and plunged it through the center of the popsicle for a second. I wiggled it around a bit and then withdrew it. Then, I was able to secure the tops. They went back in the freezer where they’ll stay until dinner today the Fourth of July!

I hope these Red White and Blue Popsicles taste as good as they look! I will pop some grandkid shots onto Instagram and Pinterest!

Have a safe and happy Fourth of July!!!
XO,
Dr. Julie
PS Here’s a blog post on red, white and blue casual outfits you might enjoy!
PPS Here’s a post on red, white and blue home decorations.


